Marketing automations react to contact activity and run a series of steps without requiring your team to start each message or update manually.
Open Kelune CRM → Automations, then select Create Automation.
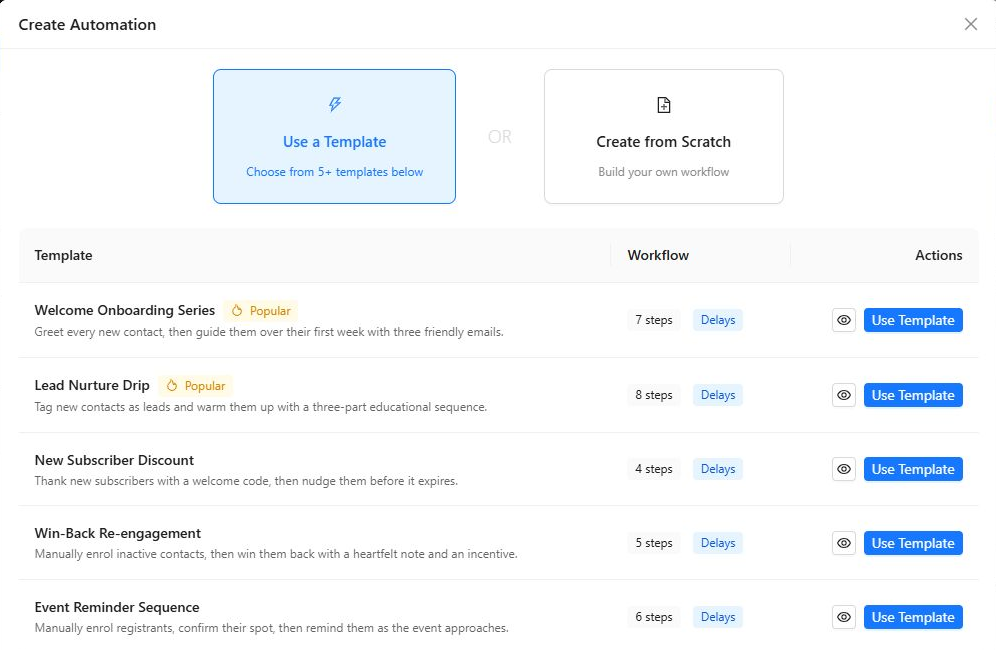
Choose how to start
- Use a Template to begin with a prepared workflow. Preview the template before using it and adjust every setting for your audience.
- Create from Scratch to build the journey step by step.
For a first automation, create a short workflow with one trigger, one email, and a clear finish. It is easier to test and understand than a long journey.
Enter the automation information
Add a descriptive name and an optional description. When creating from scratch, choose the initial trigger that enrolls contacts into the automation.
Triggers include contact creation or updates, adding or removing a contact from a list, adding or removing a tag, and manual enrollment. List and tag triggers also require the relevant list or tag.
Choose whether a contact can enter only once or can re-enter. When re-entry is allowed, set the minimum wait between entries to prevent the same contact from repeating the journey too frequently.
Build the journey
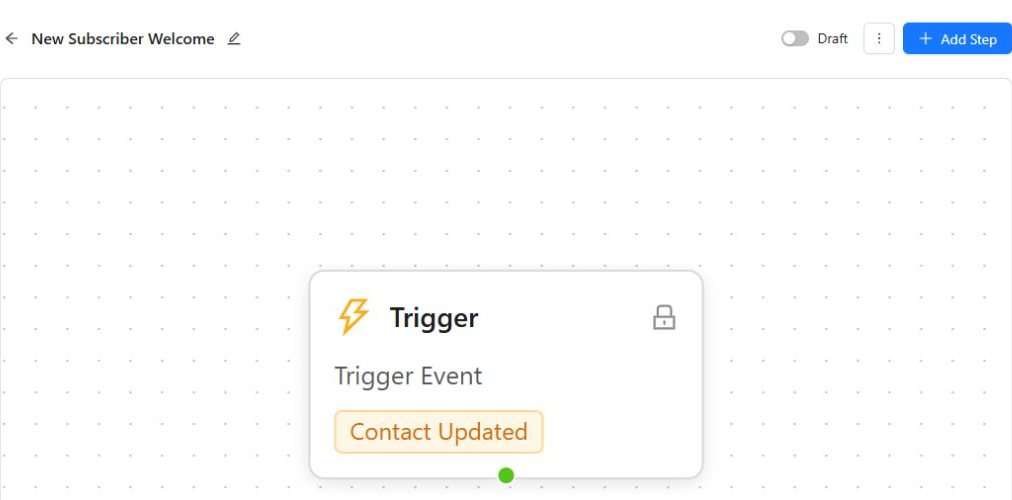
On the automation canvas, add and configure the steps after the trigger:
- Action performs work such as sending an email or changing list and tag membership.
- Delay waits for a defined number of minutes, hours, days, or weeks.
- Condition sends contacts down Yes and No paths based on contact or engagement data.
For example, a simple welcome journey could be:
- Trigger when a contact is Added to List “Newsletter”.
- Run Send Email with a welcome message.
- Wait two days.
- Add the Engaged tag.
Select each canvas step and complete its settings. For a Send Email action, choose the sender method, write or select the email content, preview it, and send a test.
Save, test, and activate
- Save the automation after configuring every step.
- Check that the trigger uses the correct list or tag.
- Preview and test each email.
- Confirm delays and re-entry rules.
- Use a test contact that you can safely enroll.
- Activate the automation when the test behaves as expected.
Only contacts who meet the trigger after the automation is active should be expected to start the journey unless you enroll them manually.
Use the Automations page to monitor enrolled, active, and completed contacts. Pause the automation when you need to prevent new processing while reviewing or changing it.